Ingredients
2 cups flour
3½ teaspoons baking powder
1 teaspoon salt
1½ teaspoons sugar
½ cup shortening
⅓ cup milk
Directions
Measure the flour, baking powder, salt, and sugar into a mixing bowl. Cut the shortening into it (as in mixing a pie crust). Add the milk and mix together so all flour is dampened. Knead lightly on a floured board. Let the dough rest on the board for about 10 minutes, then roll it to desired thickness and cut biscuits with a two-inch biscuit cutter. Bake for 15 minutes at 400 degrees Fahrenheit.
Notes
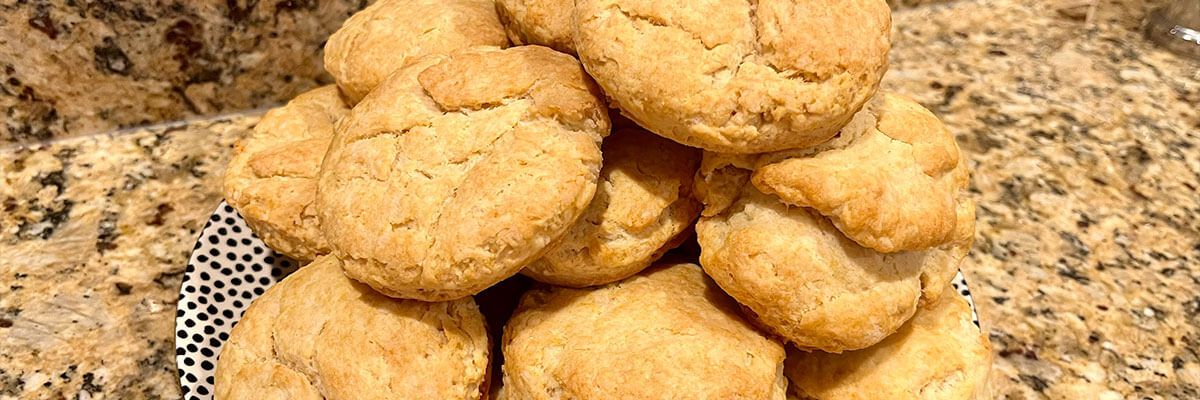
- This recipe yields approximately four large, tall biscuits or nine modest biscuits (plus a tiny, scraggly biscuit you can make from the dough scraps). In my experience, bigger is better.
- I stayed true to the recipe and used shortening, but cold butter is a one-to-one substitute.
- Do not bake these for 15 minutes at 400 degrees Fahrenheit. In my modern oven, 11–12 minutes is more like it.
Review
This biscuit recipe is a tried-and-true Carson Gulley classic. Not only did he demonstrate it on a January 1954 episode of his WMTV show, Carson Gulley’s Recipes, but he also later included it in an expanded version of his cookbook, Seasoning Secrets.
When I first saw the recipe, I thought, “Sounds simple enough.” But since I seldom eat biscuits and have never made them, I decided to do some research before starting. Here are my takeaways:
- Since this recipe doesn’t use yeast or buttermilk, you’ll need the baking powder to act as the fluffing agent in the biscuits. This recipe uses an average amount, though I saw some recipes using as many as 6 teaspoons. Feel free to add an extra dash if you’d like.
- This recipe calls for rolling out your dough. However, the online biscuit community favors repeatedly folding the dough in half to form layers before flattening it with your hands. I used my hands for the first batch and a rolling pin for the second, and I did notice taller and less dense biscuits when I used my hands.
- For the uninitiated biscuit makers, the word cut in this recipe has two meanings. The first involves mixing a cold fat (in this case, shortening or butter) into dry ingredients until you get tiny, coarse crumbles. If you don’t have a pastry cutter (but have plenty of patience and forearm strength), you can use two forks or even a cheese grater to cut in the shortening or butter.
The second meaning is straightforward: punch out the biscuits into your desired shape. The directions recommend a biscuit cutter, but I used a flour-rimmed drinking glass.
Once I finally got to baking, the extra research proved helpful but unnecessary as I went from a bowl of dry ingredients to cut-out biscuits in minutes. (I might have played it fast and loose with the 10-minute dough-resting time, though.)
Not only were they easy, but they were also fun to make. I felt like a little kid with a Play-Doh cooking set. Though in this case, the results were much better tasting. I cooked the biscuits for about 12 minutes and brushed them with melted butter to keep them golden brown.
Fresh out of the oven, they are delicious, fluffy biscuits; however, if you’re going to eat them the next day, they desperately need some moisture. I’d revive them in the microwave with a damp paper towel, add some jam/honey/more butter, or, as Gulley did, smother them in a creamed chicken sauce.
With only six pantry staples and five steps, this recipe was perfect for a biscuit novice like me. And, as I’m now well stocked with shortening, I’ll be making these biscuits again.


